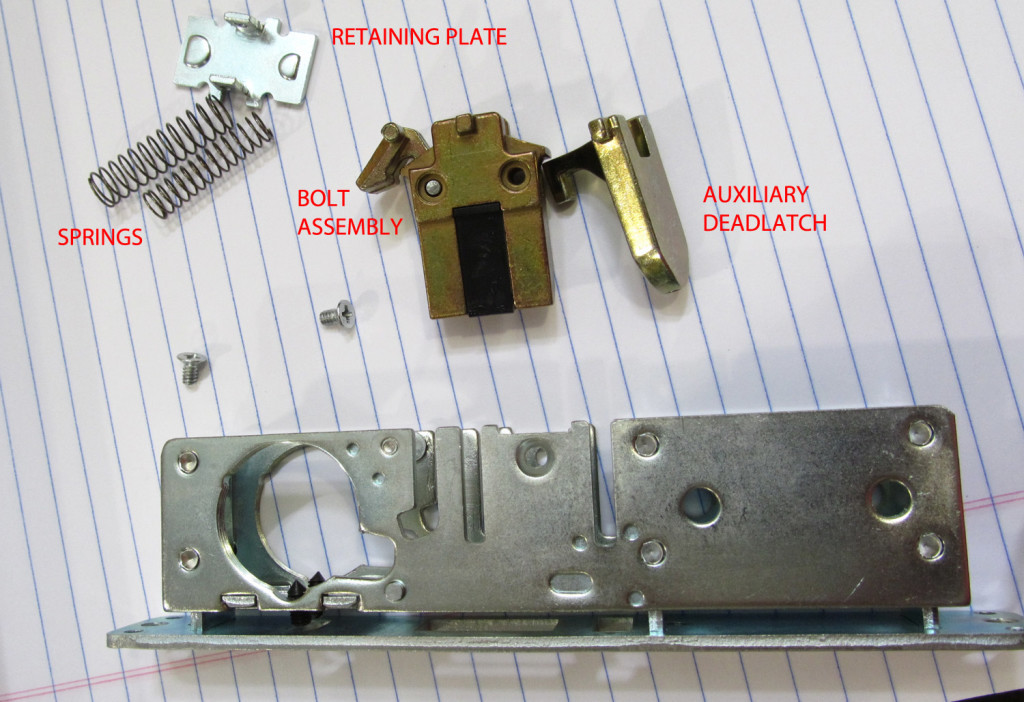
Although Adams Rite tech support might not want to talk about it*, depending on who you talk to there, the 4510 series latch lock, like its predecessor the 4710, is, in fact, field reversible. Following are the steps to do so.
First, try to choose a clean work surface in an enclosed space, just in case the springs go flying.
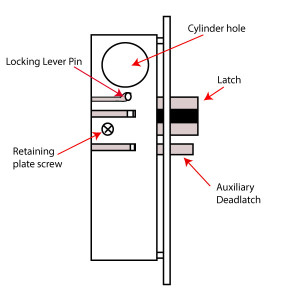
1. Remove the retaining plate screws using a #1 Philips screwdriver. Place the screws on the work surface where you can find them later.
2. Carefully remove the plate from the back of the lock body that holds the bolt, auxiliary dead latch and latch springs in place. The latch springs exert tension against this plate, so remove it with care.
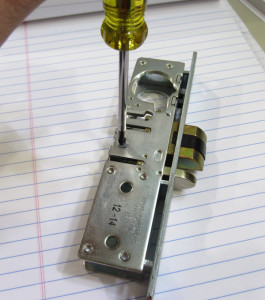
3. Using the tip of the screwdriver, move the locking lever pin so it lines up with the slot in the lock body and gently push the front of the bolt with your thumb. The bolt, auxiliary dead latch and deadlock arm assembly will slide out of the back of the lock body together.
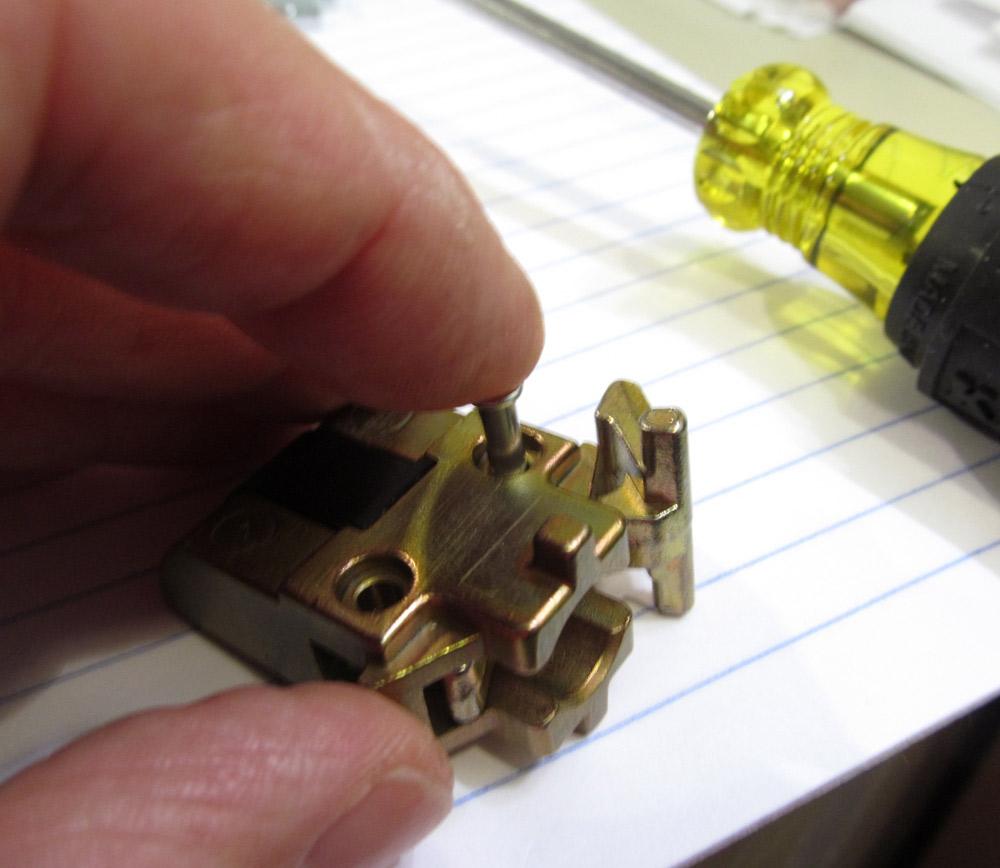
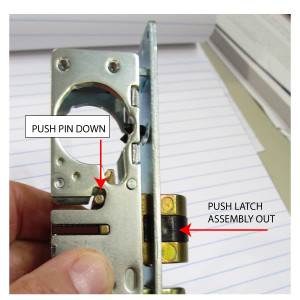 4. Remove the pin that attaches the deadlock arm to the bolt assembly.
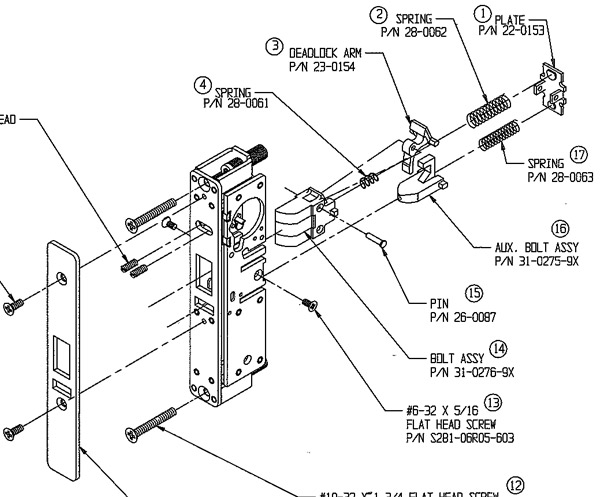
See the exploded view of the old 4710 latch below for more detail. The newer 4510 is similar if not identical to the 4710.
Caution: There is a spring inside the bolt assembly that actuates the deadlock arm.
5. Remove the deadlock arm and spring.
6. Turn the latch over and install the deadlock arm and spring on the other side. You will need to hold the deadlock arm and spring in position. When the spring and all are in position, install the pin.
7. Slide the bolt assembly into the lock body.
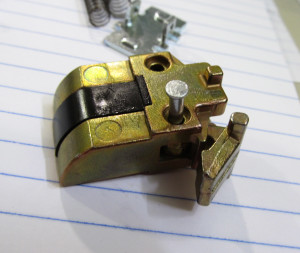 9. Place the smaller spring into the auxiliary deadlatch and the larger spring in the bolt.
8. Slide the auxiliary deadlatch into the lock body.
9. Install the retaining plate and screws.
* I recently related this procedure to a locksmith who said she had called Adams Rite tech support who told her the unit is not field reversible. This is understandable because the installation instructions do not discuss reversing the handing.
